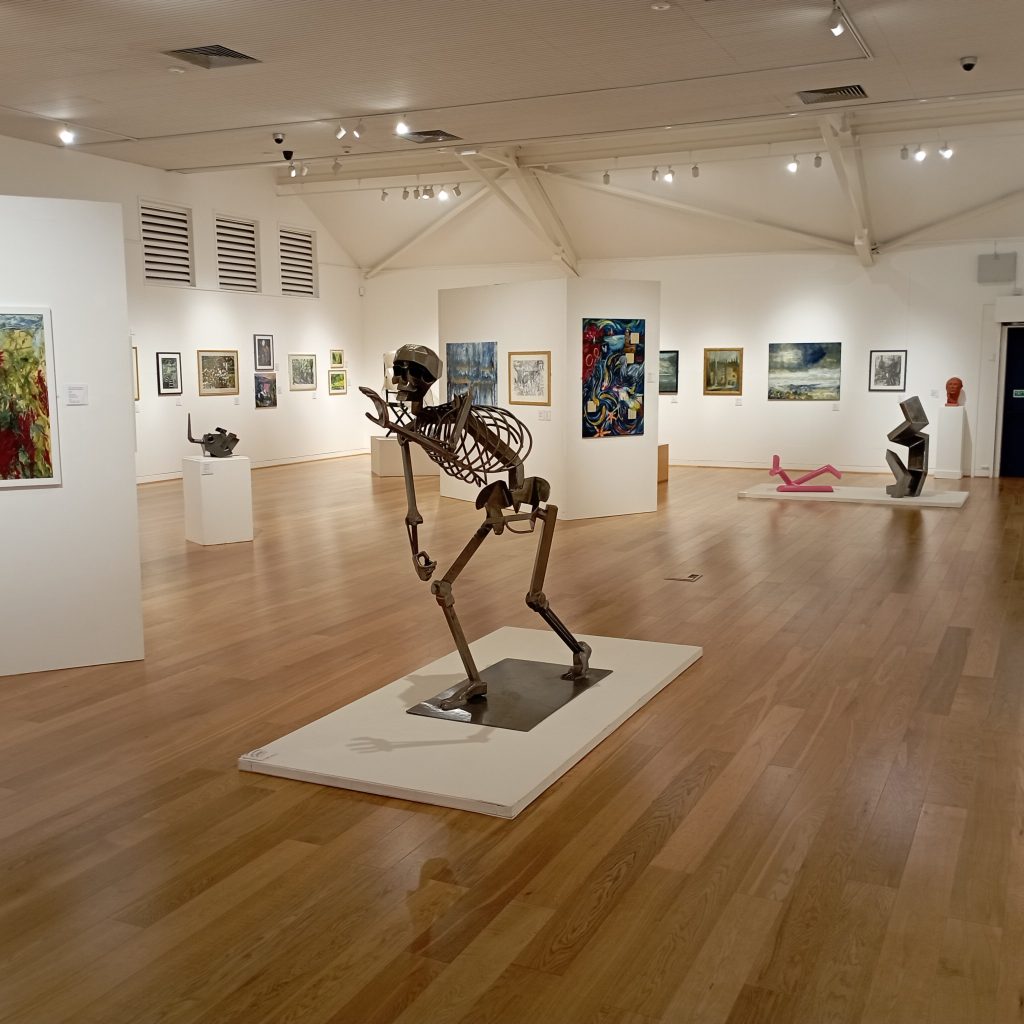
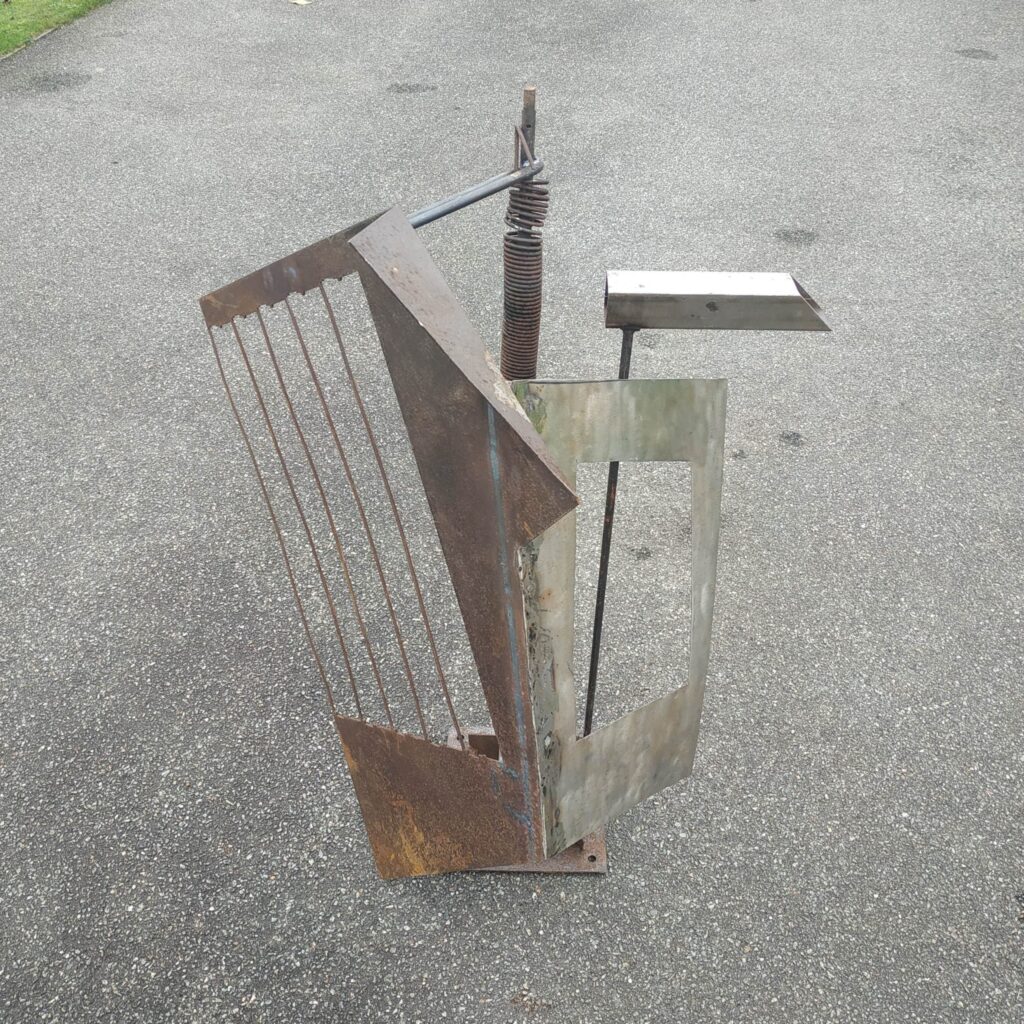
Association of Anglesey Art Clubs Exhibition Artwork In Situ, Awards, Exhibitions, Figures, Reclaimed-Metal, Welding / 2024-01-26 Association of Anglesey Art Clubs Exhibition Read More »
RCA Winter Exhibition Exhibitions, Figures, Finished Artwork, Reclaimed-Metal, Welding / 2023-11-25 RCA Winter Exhibition Read More »
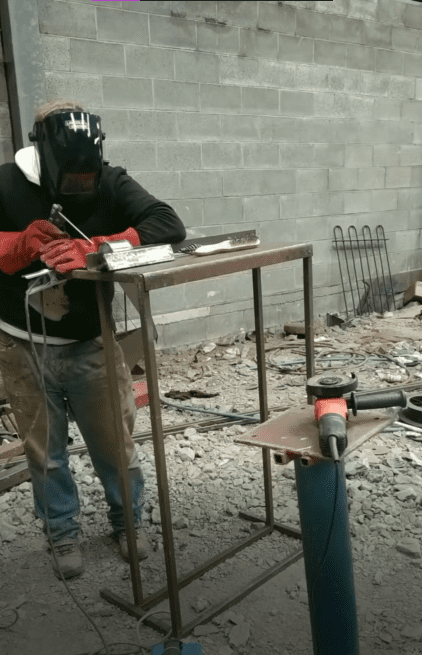
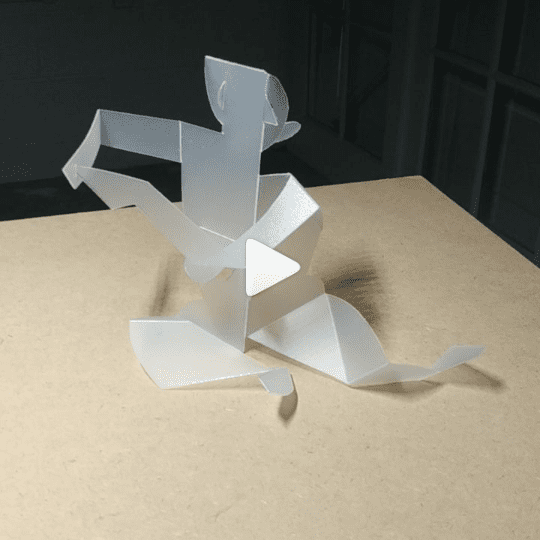
Welding Workshop Video Anatomy, Reclaimed-Metal, Sculpting, Welding, Work In Progress / 2022-10-12 Welding Workshop Video Read More »
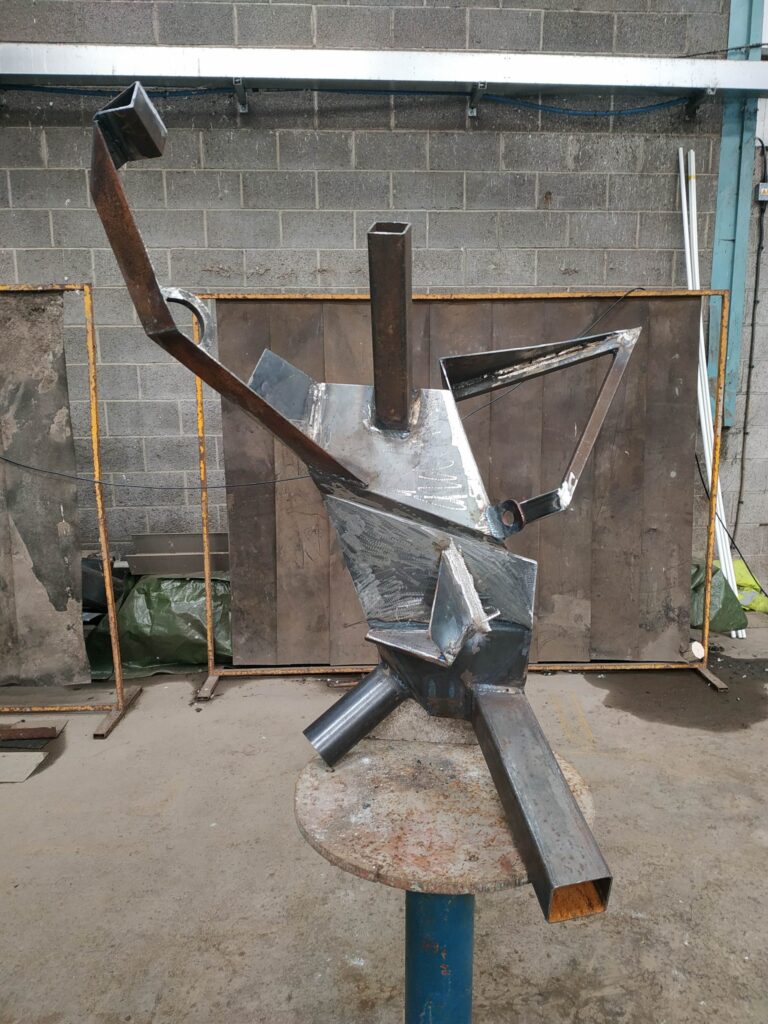
WIP Sculpture: Head of Dying Minotaur Reclaimed-Metal, Sculpting, Welding / 2022-04-01 WIP Sculpture: Head of Dying Minotaur Read More »
Work in progress welded sculpture: Torso II (after Laocoön) Reclaimed-Metal, Sculpting, Welding, Work In Progress / 2022-02-26 Work in progress welded sculpture: Torso II (after Laocoön) Read More »
Welded Scrap Metal Sculpture: Torso Reclaimed-Metal, Sculpting, Welding / 2021-11-26 Welded Scrap Metal Sculpture: Torso Read More »
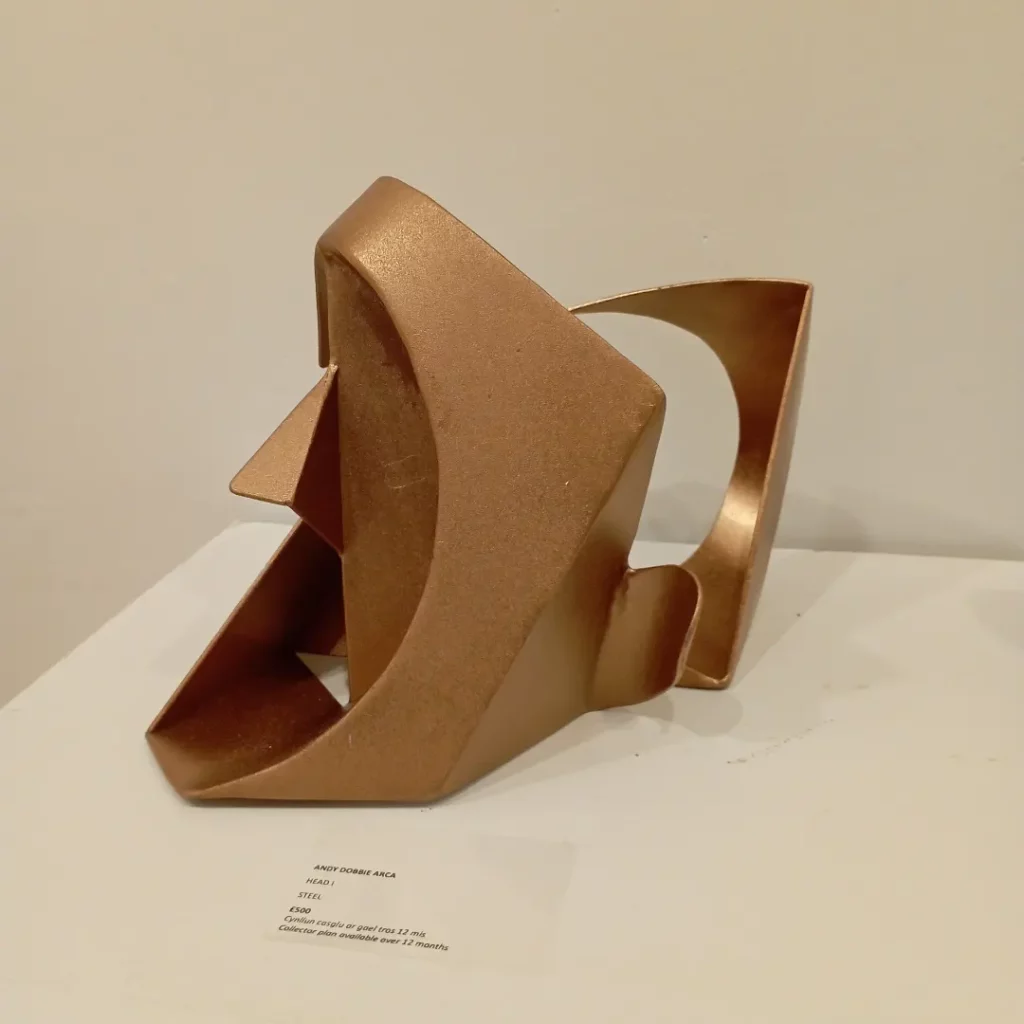
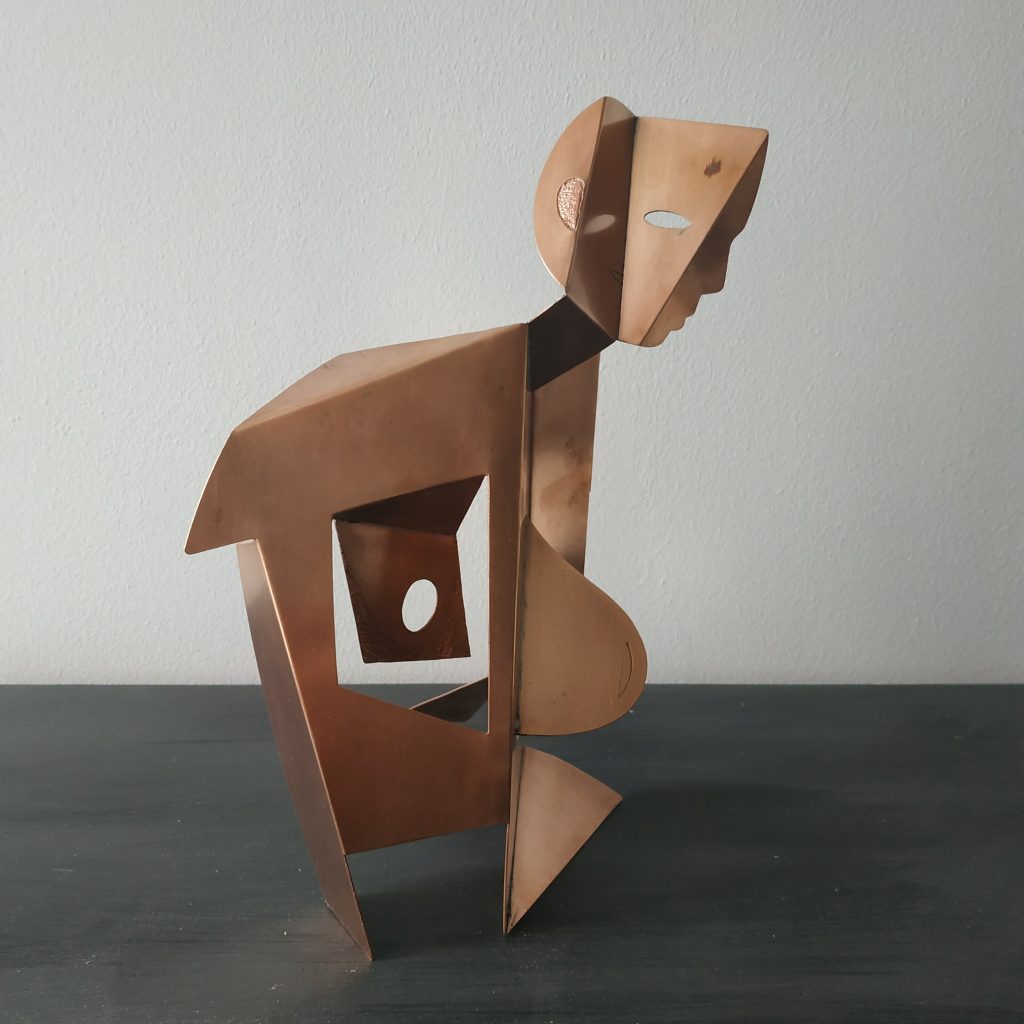
Cubist-inspired sculpture Reclaimed-Metal, Sculpting, Welding / 2020-10-18 Cubist-inspired sculpture Read More »
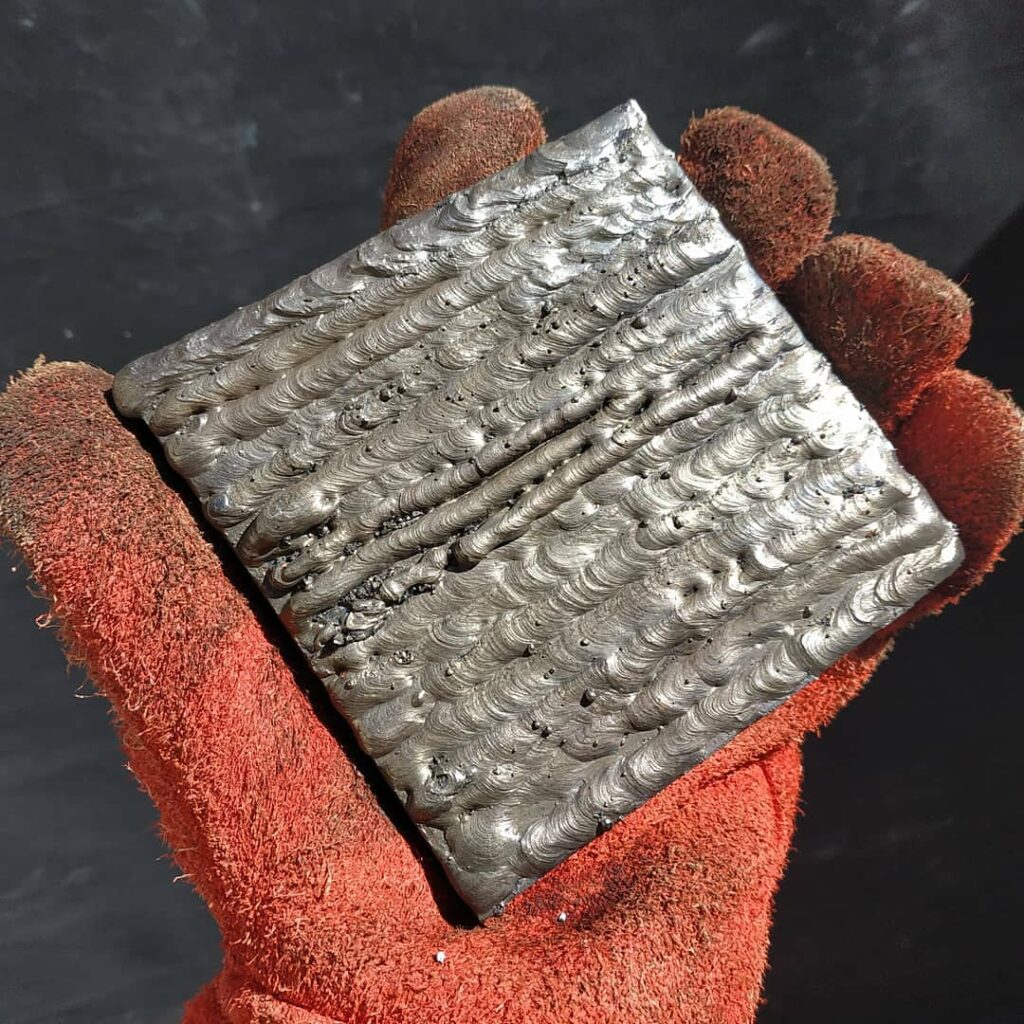
Welding Practice Reclaimed-Metal, Sculpting, Studio Practice, Welding / 2020-09-01 Welding Practice Read More »
Richard and Ruth Maquette I Reclaimed-Metal, Sculpting, Studio Practice, Welding / 2020-04-03 Richard and Ruth Maquette I Read More »